
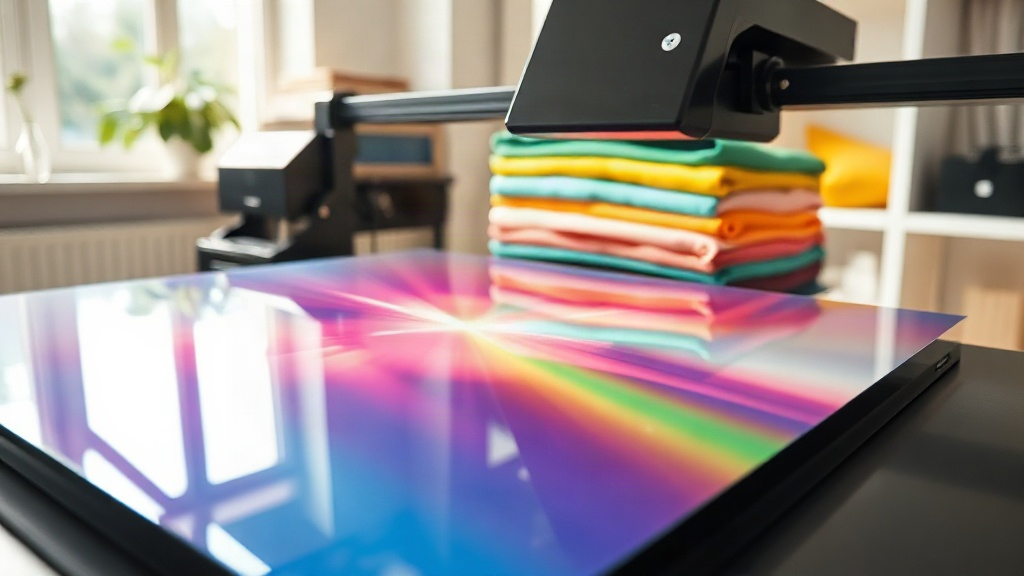
Imagine pressing a button and watching a vibrant, full-color design transfer onto a t-shirt in minutes. That's the magic of DTF printing, a digital transfer method that's quickly becoming the go-to for custom apparel creators. Unlike traditional screen printing, DTF lets you produce detailed, multi-color designs without the hassle of setup costs or color limitations. Whether you're a small business owner, a hobbyist, or just someone who loves personalized gear, understanding DTF can open up a world of creative possibilities.
What Exactly Is DTF Printing?
DTF stands for Direct to Film. It's a printing process where your design is printed onto a special film using a DTF printer, then coated with a adhesive powder and cured. The result is a flexible, durable transfer that can be applied to various fabrics, including cotton, polyester, and blends. The magic happens when you heat press the film onto the garment: the adhesive melts, bonding the ink to the fabric. Once cooled, you peel away the film, leaving a soft, stretchable print that feels like part of the shirt.
How Does It Differ from Other Printing Methods?
Traditional screen printing requires a separate screen for each color, making it cost-effective only for large orders. DTF, on the other hand, is digital, so you can print one-off designs or small batches without breaking the bank. DTG (Direct to Garment) printing also offers digital customization, but it works best on 100% cotton and often requires pre-treatment. DTF adheres to a wider range of fabrics and doesn't need pre-treatment, giving you more freedom in your material choices. Plus, DTF transfers can be stored and used later, making them perfect for on-demand production.
Why Choose DTF for Your Custom Apparel?
If you're looking to create custom apparel that stands out, DTF offers several compelling advantages:
- Vibrant colors: DTF printers use CMYK plus white ink, allowing for bright, opaque prints on both light and dark fabrics.
- No color limits: Unlike screen printing, there's no per-color cost, so you can include gradients, photographs, and intricate details without extra fees.
- Fabric versatility: Works on cotton, polyester, blends, and even some non-traditional materials like leather and canvas.
- Durability: When applied correctly, DTF prints resist cracking, peeling, and fading, even after multiple washes.
- Soft hand feel: The prints are thin and flexible, so they don't feel rubbery or heavy on the garment.
- Cost-effective for small runs: No minimum order quantities, making it ideal for personalized gifts, samples, or small business inventory.
Getting Started with DTF Printing
Ready to dive into DTF? Here's a step-by-step overview of the process, from design to finished product.
1. Design Your Artwork
Start with a high-resolution image (300 DPI is recommended). DTF printers can handle complex designs, but ensure your file is in a compatible format, such as PNG or TIFF, with a transparent background if needed. Remember that the white ink layer will be printed underneath the colors, so your design should have proper opacity. If you're not a designer, tools like Canva or Photoshop can help, or you can hire a professional.
2. Print on DTF Film
Load your DTF film into the printer, ensuring the correct side is facing up (usually the matte side). The printer will lay down the CMYK colors first, followed by a white ink layer. This white layer acts as a base, making the colors pop on dark garments. After printing, the film may look wet; that's normal.
3. Apply Adhesive Powder
While the ink is still wet, sprinkle DTF adhesive powder evenly over the printed area. Gently shake off the excess. The powder sticks to the wet ink and will become the bonding agent when heated.
4. Cure the Transfer
Place the film in a curing oven or under a heat press at around 160°C (320°F) for 2-3 minutes. This melts the powder and cures the ink. The film should look dry and slightly glossy. Let it cool before storing or using.
5. Heat Press onto Garment
Preheat your heat press to 160°C (320°F) with medium pressure. Place the cured transfer on the garment, cover with a Teflon sheet or parchment paper, and press for 10-15 seconds. Remove the garment, let it cool completely, then peel off the film. For a softer feel, you can press again for a few seconds after peeling.
Common Challenges and How to Overcome Them
Like any craft, DTF printing has a learning curve. Here are some issues you might encounter and how to fix them:
- Faded or dull colors: Ensure your printer is using the correct ink profile and that the white layer is thick enough. Also, check that the powder is fully cured.
- Transfer not adhering: Insufficient pressure or temperature can cause poor adhesion. Verify your heat press settings and ensure the garment is flat.
- Cracking after washing: This often happens if the transfer wasn't pressed long enough or if the garment was stretched during application. Use a higher pressure and ensure the transfer is cool before peeling.
- Powder clumping: Store your powder in a dry place and apply it evenly. Clumps can cause uneven texture.
DTF vs. Other Printing Methods: A Quick Comparison
To help you decide if DTF is right for your project, here's a side-by-side look at how it stacks up against screen printing and DTG:
- Setup cost: DTF low, screen printing high, DTG medium.
- Minimum order: DTF none, screen printing high, DTG none.
- Color complexity: DTF unlimited, screen printing limited by screens, DTG unlimited.
- Fabric compatibility: DTF wide range, screen printing mostly cotton, DTG mostly cotton.
- Durability: DTF excellent, screen printing excellent, DTG good.
- Feel: DTF soft, screen printing soft, DTG soft.
As you can see, DTF shines for small to medium runs with complex designs on various fabrics.
Tips for Success with DTF
To get the best results from your DTF printer, keep these best practices in mind:
- Maintain your printer regularly: clean the printhead, check ink levels, and replace film as needed.
- Use quality supplies: cheap film or powder can lead to poor transfers.
- Test your settings: every heat press is different, so dial in the right temperature, pressure, and time.
- Store transfers properly: keep them in a cool, dry place away from direct sunlight.
- Wash garments inside out in cold water and avoid bleach to prolong the print's life.
Frequently Asked Questions About DTF Printing
How long do DTF prints last?
With proper application and care, DTF prints can last as long as the garment itself. They resist cracking and fading for 50+ washes if you follow washing instructions.
Can I use DTF on 100% polyester?
Yes, DTF works well on polyester. However, because polyester can be heat-sensitive, use a lower temperature (around 150°C) and test first to avoid scorching.
Do I need a special printer for DTF?
You can convert a standard inkjet printer to use DTF inks, but dedicated DTF printers are recommended for best results. They are designed to handle the white ink and film feeding.
What is the cost of starting DTF printing?
Initial investment can range from $500 for a converted printer to $5,000+ for a professional DTF setup. Ongoing costs include ink, film, and powder, which are relatively affordable.
Can I print on dark shirts without a white base?
No, the white base is essential for vibrant colors on dark fabrics. Without it, the colors would appear dull or invisible. DTF printers automatically print the white layer.
Final Thoughts
DTF printing is a game-changer for anyone in the custom apparel industry. Its ability to produce high-quality, full-color transfers on a variety of fabrics with minimal setup makes it accessible and profitable. By understanding the process and following best practices, you can create stunning, durable designs that your customers will love. So why not give DTF a try? With a little practice, you'll be cranking out professional-grade apparel in no time.