
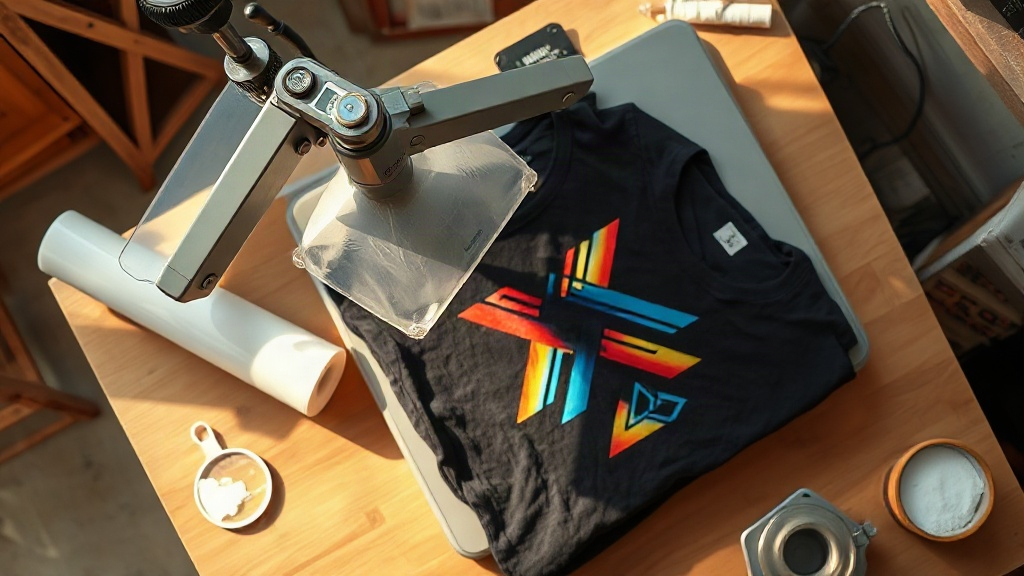
Most people who get burned by DTF Transfers do not get burned by the transfer itself. They get burned by a file that looked fine on a laptop screen, a film that sat in a humid room for three weeks, or a press that was set to the wrong pressure. I have watched small shops reprint entire orders over each of those, and none of them were hard problems to catch in advance. This is the checklist I wish someone had handed me the first time I ordered a batch.
Start With the File, Not the Fabric
The single most expensive mistake in DTF Transfers is treating artwork as an afterthought. A design that reads beautifully on a monitor can print muddy, and by the time you notice, the film is already pressed onto a garment you cannot un-press.
Resolution and physical size
Work at 300 DPI at the final print size, not at some arbitrary canvas size you plan to scale later. If your design is 10 inches wide on the shirt, the file should be built to 10 inches at 300 DPI. Upscaling a 72 DPI web graphic to a 12 inch chest print produces soft edges and visible pixel blocks that no amount of pressing will fix.
Color mode and the white underbase
Build in RGB for DTF Transfers, not CMYK. DTF printers run on RGB profiles, and a CMYK file will shift, often toward duller greens and muddy oranges. The more important habit is planning the white layer deliberately. DTF prints white ink behind the color, which is what lets a design show up on black cotton. If you leave white under light-colored elements, they will look chalky. If you remove white from thin dark text, it can disappear into a dark shirt.
- Keep white under anything that needs to read on dark fabric.
- Remove white from areas meant to show the garment through, like distressed textures.
- Check small text at 100 percent zoom, not fitted to screen.
Transparency and stray pixels
Flatten nothing that should stay transparent. DTF needs an alpha channel for the background so the printer knows where not to lay ink. A file with a white box behind the design will print that box. Zoom in at the edges of your artwork and look for leftover halos, stray pixels, or a faint drop shadow you forgot to delete. Those become visible artifacts on the finished print.
Judging Film Quality Before You Press It
Once you have a clean file, the next variable is the transfer itself. Film quality varies more than most buyers expect, and you can often tell a lot before the press ever closes.
Feel the powder layer
Run a fingertip across the printed side. It should feel lightly tacky and evenly coated, not gritty or patchy. Uneven powder means uneven adhesion, and those are the transfers that crack first at the edges after a few washes. If you can see bare ink spots where powder is missing, that batch is a gamble.
Check for moisture and storage damage
DTF film hates humidity. If transfers arrive in a bag that has been sitting in a hot warehouse, the powder can clump or absorb moisture and the print will not release cleanly. Store unopened packs somewhere dry, and if you live in a humid climate, seal partial packs with a desiccant. I have seen whole orders ruined by nothing more than a damp storage shelf.
Peel test a sample first
Never run a full production order on a new supplier without pressing one test piece. Press a single transfer onto the same fabric blend you plan to use, let it cool completely, then peel. A clean peel with crisp edges tells you the film, powder, and your settings are all in agreement. A ragged or gummy peel tells you something is off, and it is far cheaper to find that out on one shirt than fifty.
Press Settings That Actually Matter
Temperature, pressure, and time all interact, and changing one usually means adjusting the others. The numbers below are a starting point, not gospel, because every press and every fabric behaves a little differently.
- Temperature: most DTF films press in the 300 to 325 degrees Fahrenheit range. Too cool and the powder will not fully melt; too hot and you risk scorching synthetics.
- Pressure: medium to firm, evenly distributed. Light pressure leaves the edges under-bonded, which is where peeling starts.
- Time: typically 10 to 15 seconds for the main press, plus a short second press after peeling if the film calls for it.
Pre-press the garment for a few seconds to drive out moisture. Cotton holds water, and trapped moisture turns into steam under the transfer, which is a common cause of bubbling and poor adhesion. Let the transfer cool before you peel if the film is a cold-peel type, and peel warm only if the manufacturer specifies it. Getting this backwards is one of the most common reasons a technically perfect print still fails.
Fabric Choices That Change the Outcome
DTF Transfers are popular partly because they work on a wide range of materials, but wide range does not mean identical results. On 100 percent cotton, adhesion is usually excellent and the print feels soft. On polyester, you need lower temperatures to avoid dye migration, where the garment's dye bleeds up into the print over time. Blends fall somewhere in between and often need a test run.
If you are printing on performance wear or anything with a slick finish, expect to adjust. A transfer that bonds perfectly to a heavyweight tee can slide on a coated nylon jacket. Match your settings to the fabric, and keep a small notebook of what worked for each material. That log will save you more time than any forum thread.
Wash Testing Without Wrecking Your Reputation
The only honest test of a DTF transfer is time and laundry. Before you ship a batch, press one sample and wash it the way a real customer would: inside out, warm water, normal detergent, tumble dry low. Repeat it three or four times. Check the edges, the small text, and the areas that stretch.
What you are looking for is cracking, fading, or lifting at the corners. A print that survives four or five wash cycles without change is very likely to hold up for the life of the garment. A print that starts lifting after one wash has a bonding problem, and no amount of careful pressing will rescue a bad batch of film.
Frequently Asked Questions
How long do DTF transfers last on a shirt?
With proper pressing and normal care, a quality transfer typically outlasts the garment itself, often well past fifty washes. Longevity depends far more on correct temperature, pressure, and even powder coating than on the design itself.
Can I use DTF transfers on dark and light fabric with the same file?
Yes, but the white layer needs attention. On dark fabric you want white behind the colors so they pop. On light fabric, heavy white can make the print look thick and chalky, so trim white from areas that should stay light.
Why did my transfer peel off after the first wash?
In most cases it is one of three things: too little pressure, too low a temperature so the powder never fully melted, or moisture in the garment during pressing. Pre-press the fabric and check your settings against the film's spec sheet.
Do I need a special printer to make my own DTF transfers?
You need a DTF printer, DTF film, and a powder shaker, which is a real investment. Many small shops order ready-made transfers instead and skip the equipment cost, especially when order volume is unpredictable.
What is the biggest mistake people make when ordering DTF transfers?
Ordering a large batch from a new supplier without pressing a single sample first. One test press costs you a few minutes and tells you whether the film, powder, and your settings actually work together.